
Home Writing Artwork Photography About News Contact Links
Decking and Pergola project
March 2004
We decided to build a pergola and lay some decking at the back of our house in Brighton. The old patio tended to get slippery in the winter months and there was quite a step down from the kitchen.
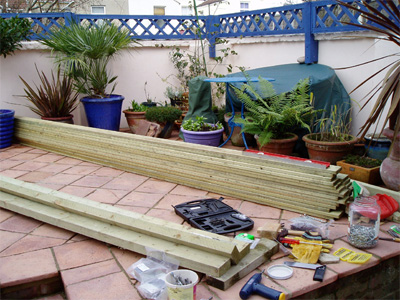
I ordered planned how I was going to go about it and then worked out how much timber I'd need. I piled the dry graded treated timber up on the patio, stood back and wondered if I'd ordered too much for while – but it all got used according to the plan.

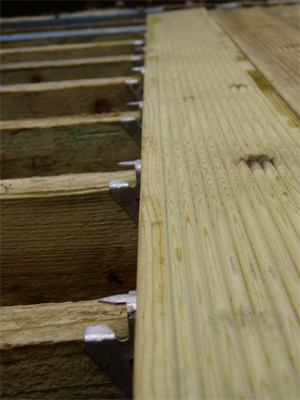
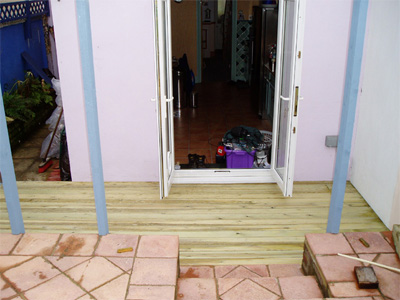
I set about putting in the joists such that all of the timber would be clear of the old slabs to allow for water run off underneath (to stop pooling and rotting), as well as setting a slight gradient for the actual decking run off.

The joists are quite close together because I chose a thin decking board and it needed plenty of support.
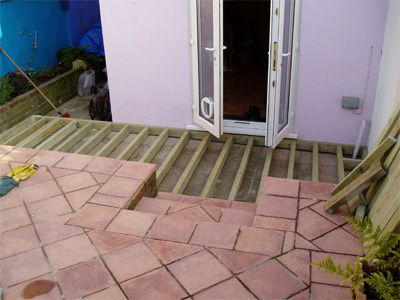
Once that was done I set about building the pergola.

Having constructed the pergola (based on a Greek design that I'd seen on holiday) I numbered each part for easy reassembly and gave them three coats of exterior wood paint.
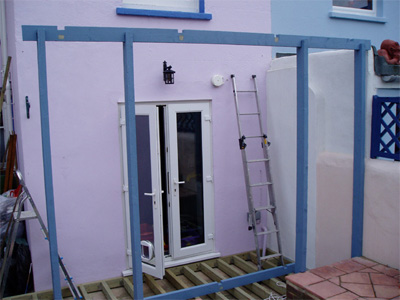
Once that was dry it was just a question of putting it all back together again. I'd cut a small slot in each of the upright supports so that they would accomodate the lip on the patio slabs and fit snuggly against the wall to be fixed, as well as allowing a gap between the bottom of the uprights and the joists for the decking timber.
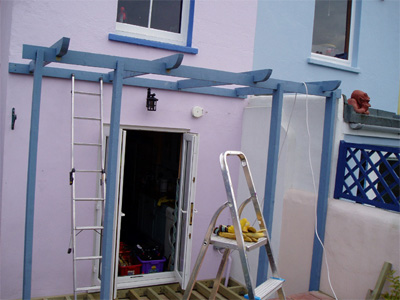
There it is finished
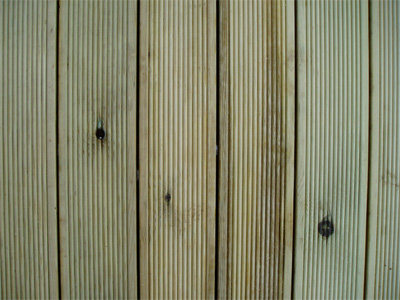
The decking we liked the look of was Cambridge decking from Q Deck. At 20.5mm x 95mm it is the thinnest in the range and the most economical per square metre, but needs more supporting joists. Q-Deck Products are treated with pressure impregnated Tanalith® Extra™ timber preservatives.
(Note the perfectly even spacing as a result of using the Stealth decking clip system)

Apart from decking screws around the edge, all of the boards were fixed using the Stealth clip system
This is a great way to lay decking because the clips keep the boards slightly off the joists to stop them sitting in water, automatically give you perfect spacing between successive boards and mean that you don't have screws all over the place – especially nice if you've got more joists than normal and gives a lovely aesthetic finish.
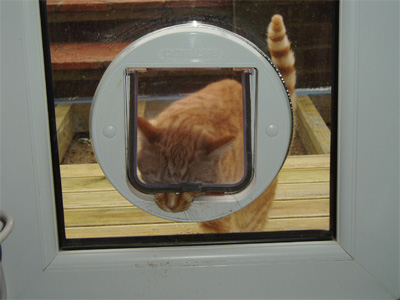
Our cat appreciated not having to clamber up from the old patio level to get through his flap.
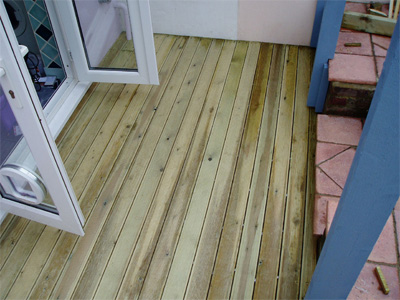
I used the longest runs available for the best effect and for quick and easy fitting
Job done
Q Deck web page - great advice and range of products
The Stealth Decking clips came from Screwfix
The timber which I cut for the joists and pergola came from Travis Perkins
Return to Brighton Home Garden Page